

How to Prepare Your Home for a Roof Replacement: A Step-by-Step Checklist
Jesse Sampley • March 17, 2026
A roof replacement is a major home improvement project. While your contractor handles the heavy lifting, proper preparation on your end can make the process smoother, safer, and less stressful.
Roofing work involves sustained noise, vibration, falling debris, and steady crew movement around your property. Taking proactive steps beforehand helps protect your belongings and reduces the likelihood of delays once work begins.
Use this step-by-step checklist to prepare your home before installation day.
Before installation begins, confirm the following details with your contractor:
- The project start date and the estimated completion timeline.
- The scope of work and the materials scheduled for installation.
- The contractor’s working hours and designated crew access points.
- The weather contingency plans in case installation is delayed.
Clear communication reduces misunderstandings, prevents scheduling conflicts, and allows you to plan confidently around the project timeline.
1. Confirm Project Details in Advance
Preparation starts long before the first shingle is removed. Taking time to review the project details ensures you fully understand what will happen, when it will happen, and what to expect throughout the process. Clear expectations help prevent confusion, delays, or last-minute surprises.
You should:
- Confirm the start date and estimated completion time.
- Review the scope of work and materials being installed.
- Clarify working hours and crew access points.
- Ask about weather contingency plans.
Clear communication reduces misunderstandings and helps you plan accordingly.
2. Clear Your Driveway and Garage
Roof replacement requires space for equipment, materials, and debris removal. Contractors often use large trucks, trailers, and dumpsters that need to be positioned close to your home. Limited access can slow down the project and increase safety risks.
To help create the space needed for equipment and materials, plan to:
- Move vehicles out of the driveway and garage.
- Remove bikes, tools, or stored items near garage doors.
- Provide space for dumpsters or material deliveries.
Easy access speeds up the job and improves safety for everyone involved.
3. Protect Landscaping and Outdoor Items
Roof replacement affects more than just the roof itself. Tear off and installation create falling debris and heavy foot traffic around your home’s perimeter. Even with protective measures in place, fragile landscaping and outdoor belongings can be at risk.
Before the crew arrives, take time to:
- Move patio furniture, grills, and potted plants away from the house.
- Cover delicate landscaping with breathable tarps if necessary.
- Trim overhanging tree branches near the roofline.
- Mark sprinkler heads or landscape lighting to prevent accidental damage.
While experienced contractors take protective measures, extra preparation on your end adds another layer of protection for delicate landscaping and outdoor features.
4. Secure Items Inside Your Home
Many homeowners are surprised by how much vibration a roof replacement creates. Hammering, shingle removal, and equipment movement can cause walls and ceilings to shake more than expected.
To prevent interior damage:
- Remove fragile items from walls and shelves, especially on upper floors.
- Secure light fixtures and ceiling fans if they feel loose.
- Protect valuables in the attic with drop cloths.
If you work from home, be prepared for increased noise during working hours.
5. Prepare the Attic
Your attic sits directly beneath the roofing system, which means it may be exposed to dust and small debris during tear off. Even when decking remains intact, fine particles can filter through small gaps.
Take these steps:
- Cover stored items with plastic sheeting to protect from dust.
- Ensure the attic is accessible if the contractor needs to inspect ventilation or decking.
- Remove valuable or irreplaceable belongings temporarily if possible.
Minor dust or small debris falling through gaps during tear-off is normal and typically temporary.
6. Inform Neighbors
Roof replacement is not a quiet project. The noise from tear off, nail guns, and crew movement can carry throughout the neighborhood. Giving your neighbors advance notice shows courtesy and helps avoid unnecessary tension.
As a proactive courtesy:
- Let neighbors know the project start date.
- Inform them about potential noise and temporary parking changes.
- Remind them to move vehicles parked close to your property.
Open communication helps maintain good relationships and avoids complaints.
7. Make Arrangements for Children and Pets
A roofing project turns your home’s exterior into an active job site. There will be ladders, tools, falling debris, and exposed nails throughout the day. Safety should always be a top priority.
To ensure everyone stays safe:
- Keep children away from work areas at all times.
- Secure pets indoors or consider temporary relocation.
- Avoid allowing pets into the yard while crews are working.
Falling debris and exposed materials make supervision essential throughout the duration of the project.
8. Plan for Power and Satellite Interruptions
Certain roof components connect to utility systems, including satellite dishes, antennas, and ventilation equipment. In some cases, these items must be temporarily removed or adjusted during installation.
Before installation:
- Ask if satellite dishes will be removed and reinstalled.
- Confirm how HVAC vents or roof-mounted equipment will be handled.
- Prepare for short service interruptions if necessary.
Understanding these details prevents surprises during installation.
9. Review Cleanup Expectations
Cleanup is an important part of any professional roofing project. While most contractors prioritize job site cleanliness, it is still helpful to understand exactly what procedures will be followed once installation is complete.
Before work begins, discuss and confirm:
- How will debris be contained and removed?
- Whether magnetic nail sweeps will be performed.
- What the final inspection process will look like.
Knowing what to expect ensures your property is left clean and safe.
10. Be Available for Final Walkthrough
The final walkthrough is your opportunity to review the completed project and ask any remaining questions. This step ensures that everything meets expectations before the job is officially closed.
During this inspection:
- Review the finished work visually.
- Ask questions about maintenance and warranty coverage.
- Confirm that permits and inspections are properly closed out.
Taking time to review the finished work helps confirm that the installation meets expectations and that your home is ready for long-term protection.
Final Thoughts
Preparing your home in advance can make a meaningful difference in how smoothly your roof replacement progresses. Taking time to clear access points, secure interior items, and understand the installation process helps reduce stress, protect your property, and prevent avoidable delays once work begins.
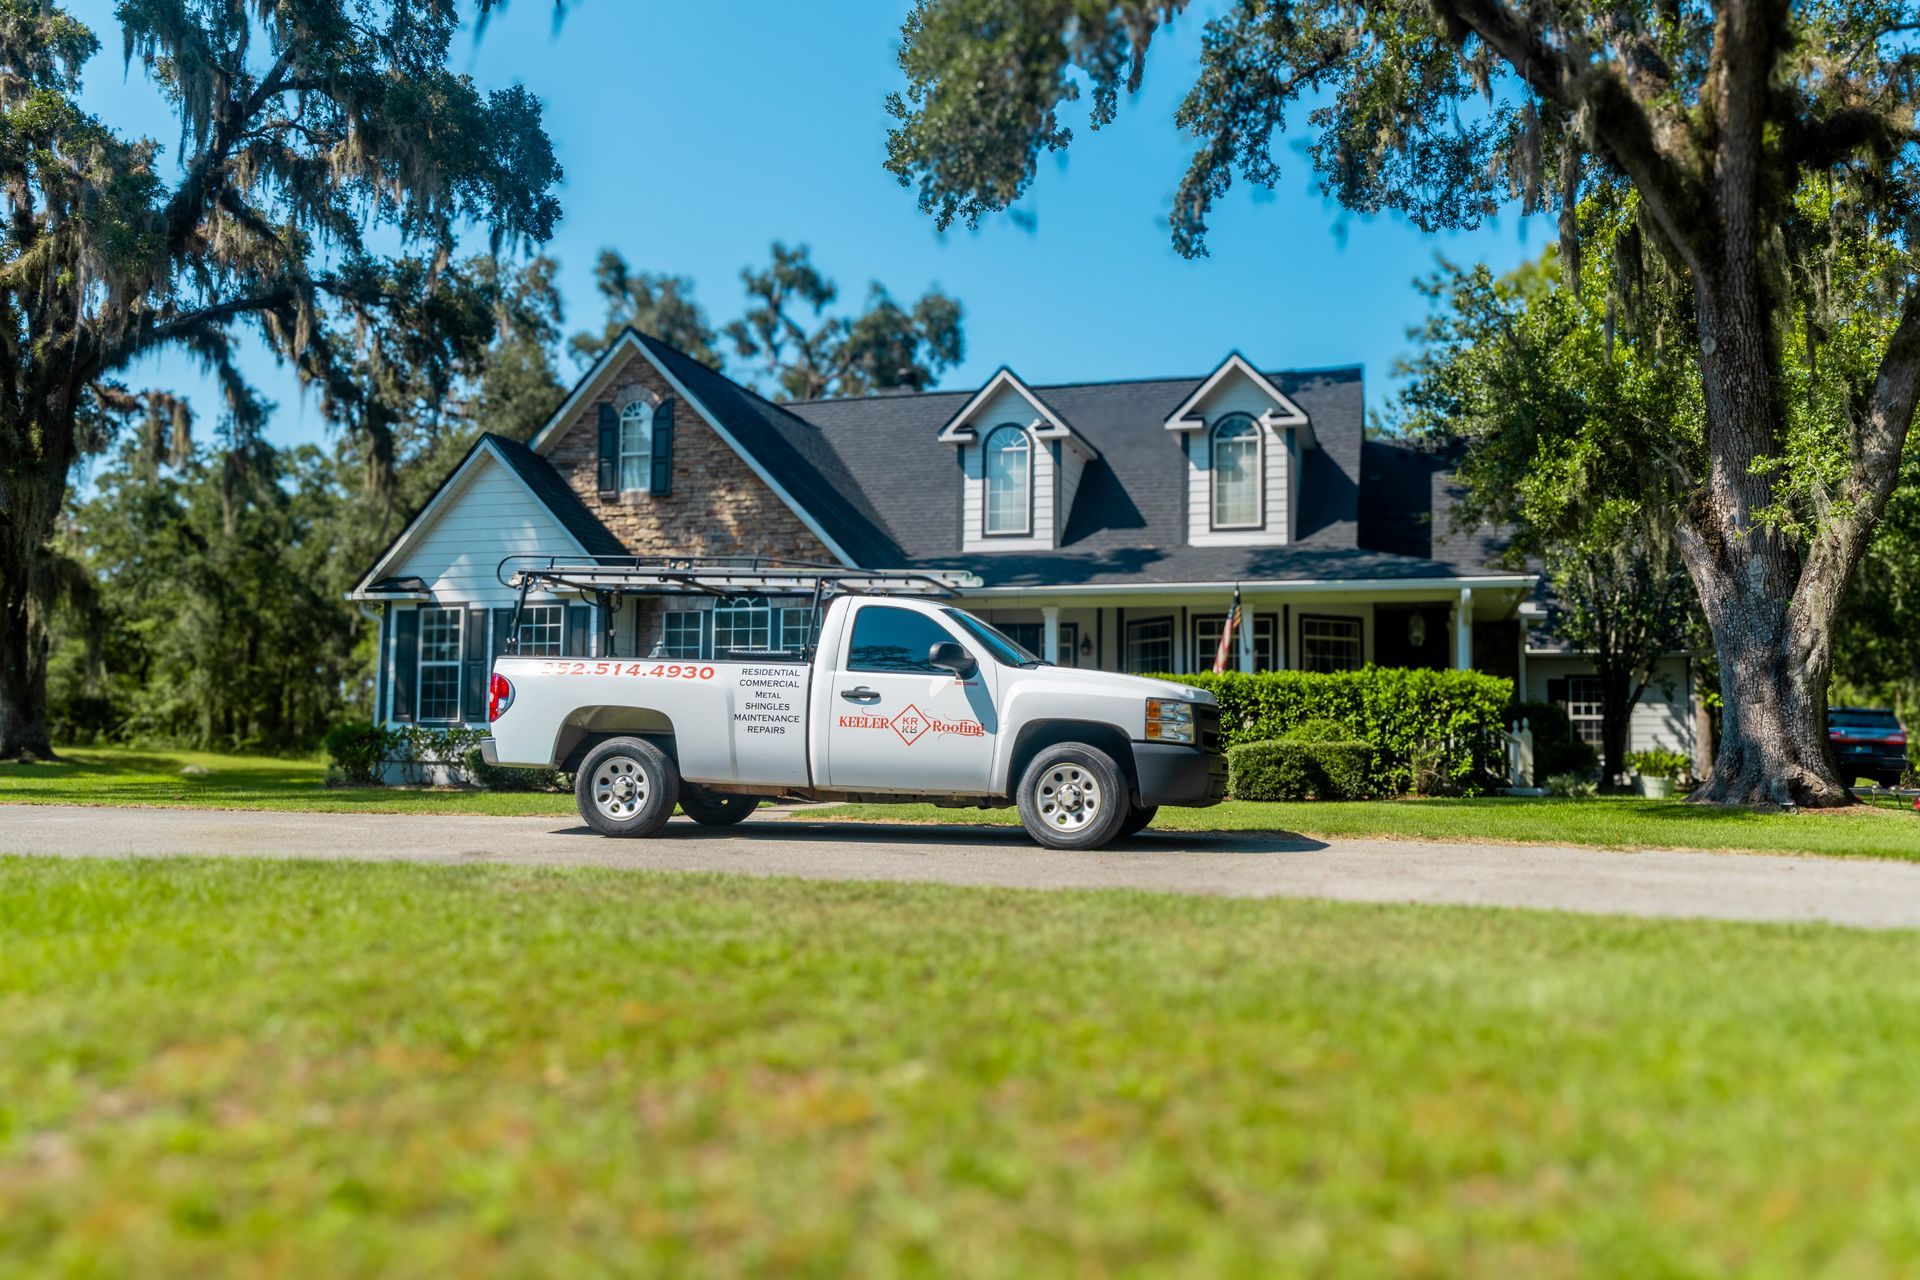
Working with an experienced contractor such as Keeler Roofing further supports a well organized project. Clear communication, defined expectations, and professional oversight help ensure the installation is completed with care so you can feel confident in both the process and the finished result.
Related Posts
Learn whether a metal roof or architectural shingles are the best choice for your Florida home in 2026. Compare costs, hurricane resistance, and lifespan.
Learn what homeowners insurance covers for Florida roofing, what it excludes, and how property owners can successfully navigate an insurance inspection.
Learn how proper attic ventilation helps extend roof lifespan, reduce moisture buildup, and improve energy efficiency in Florida homes. Keeler Roofing Services explains the importance of balanced roof ventilation systems.
Learn how energy-efficient roofing options like reflective shingles, metal roofing, and tile roofs can lower cooling costs in Florida homes. Keeler Roofing Services explains the best roofing systems for long-term comfort and efficiency.
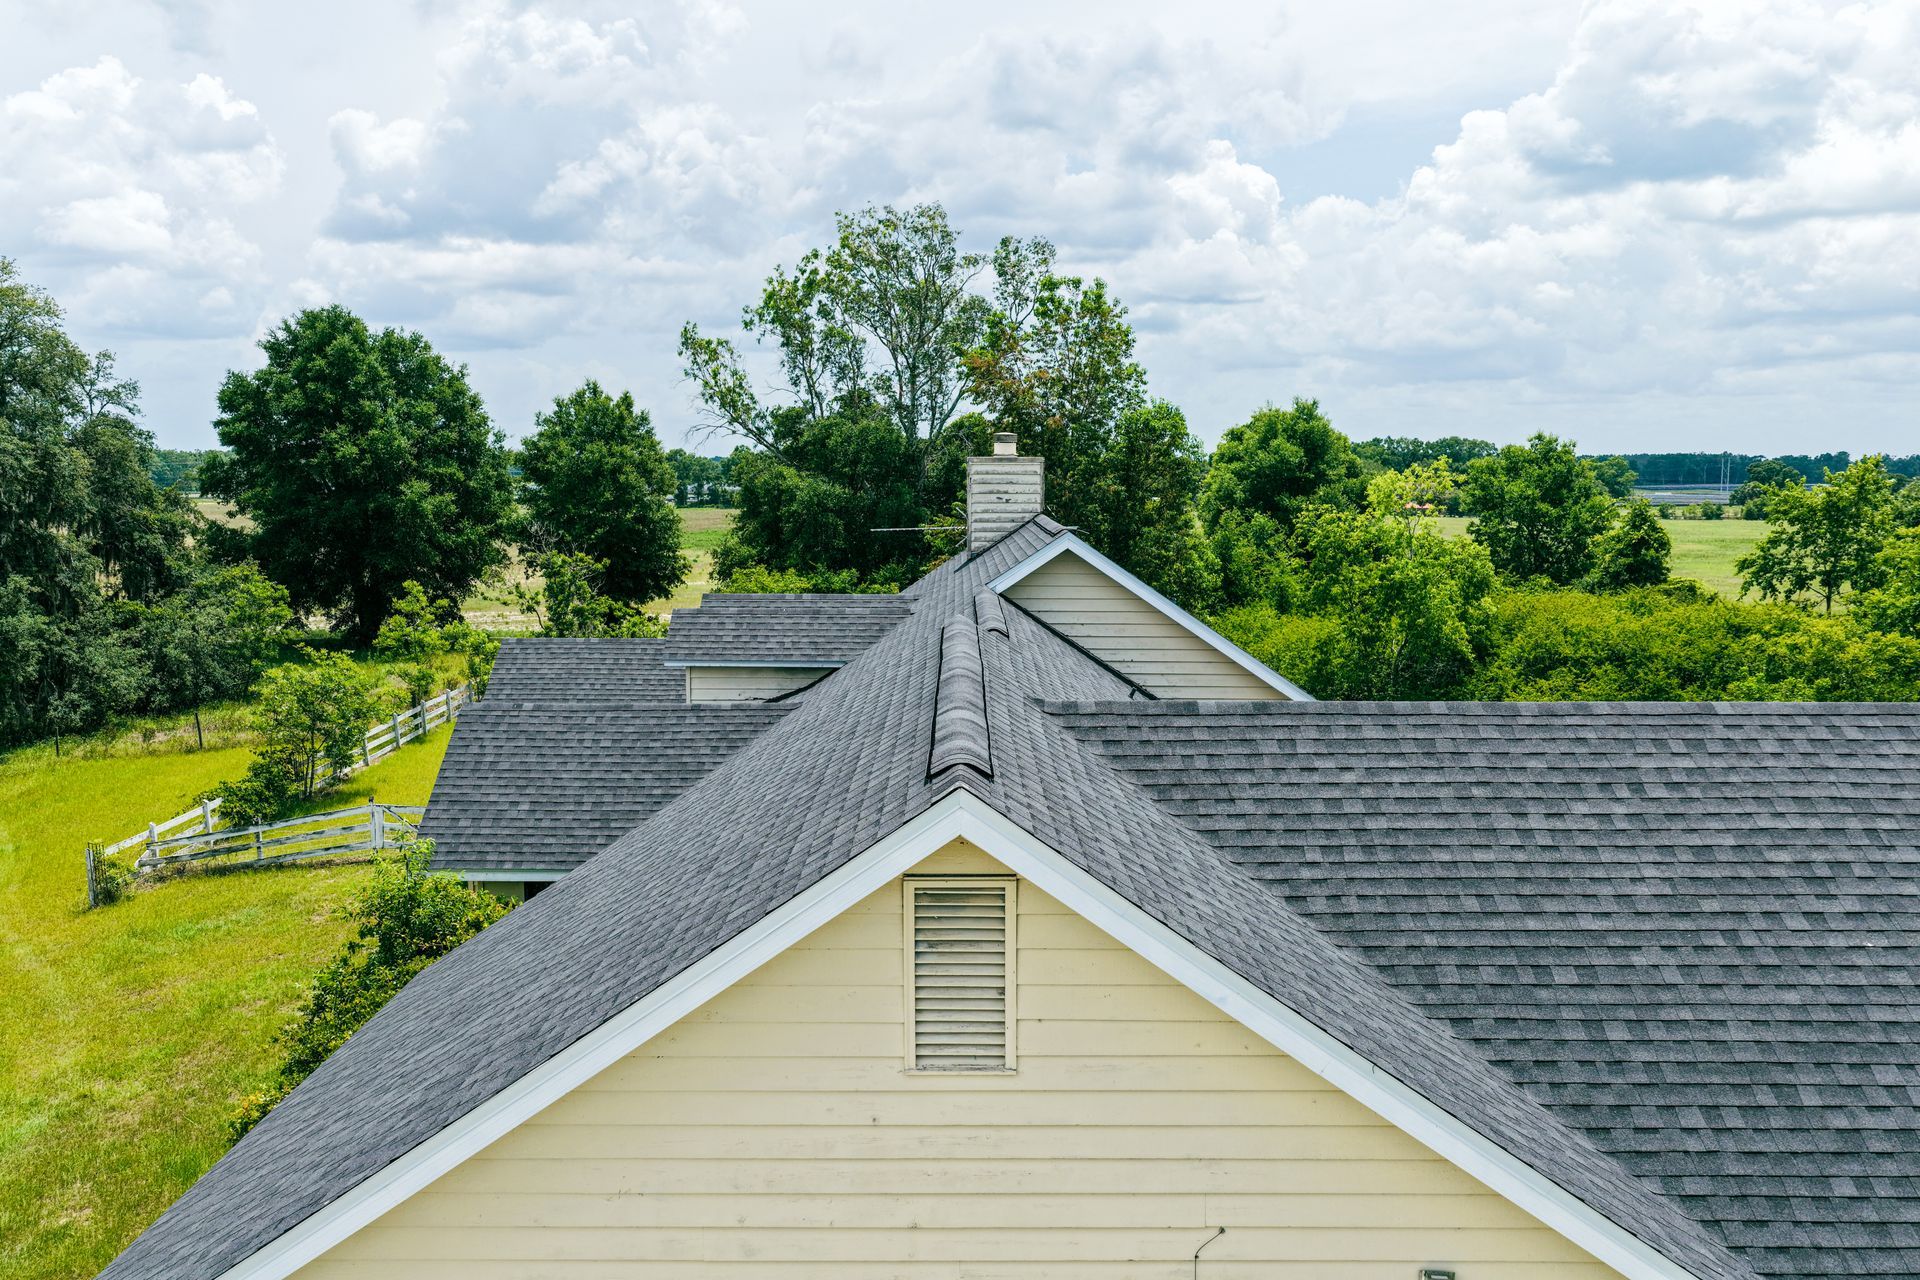
A residential home’s roof with asphalt shingles after a December 2024 storm. The shingles appear intact but some edges are lifted and granules have accumulated in gutters, illustrating potential storm damage.
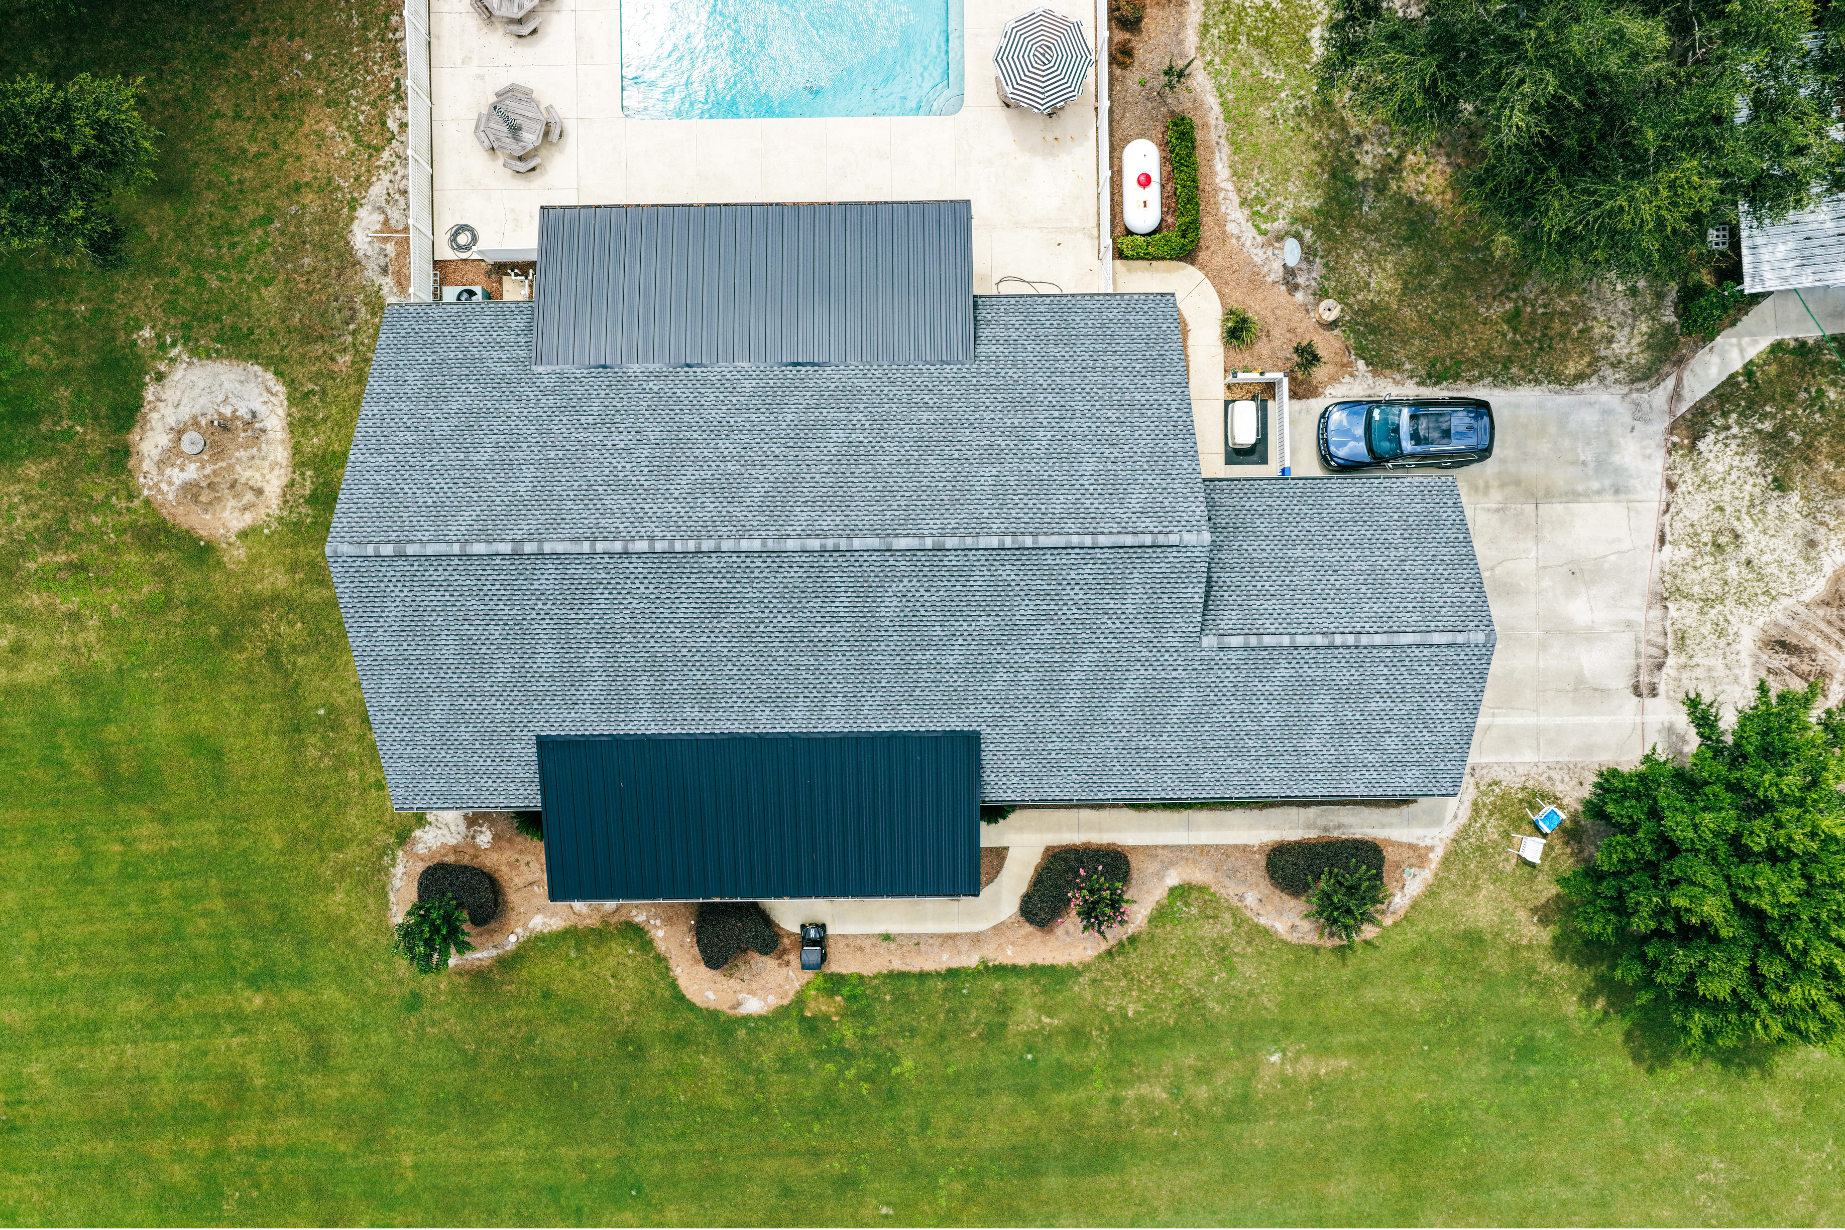
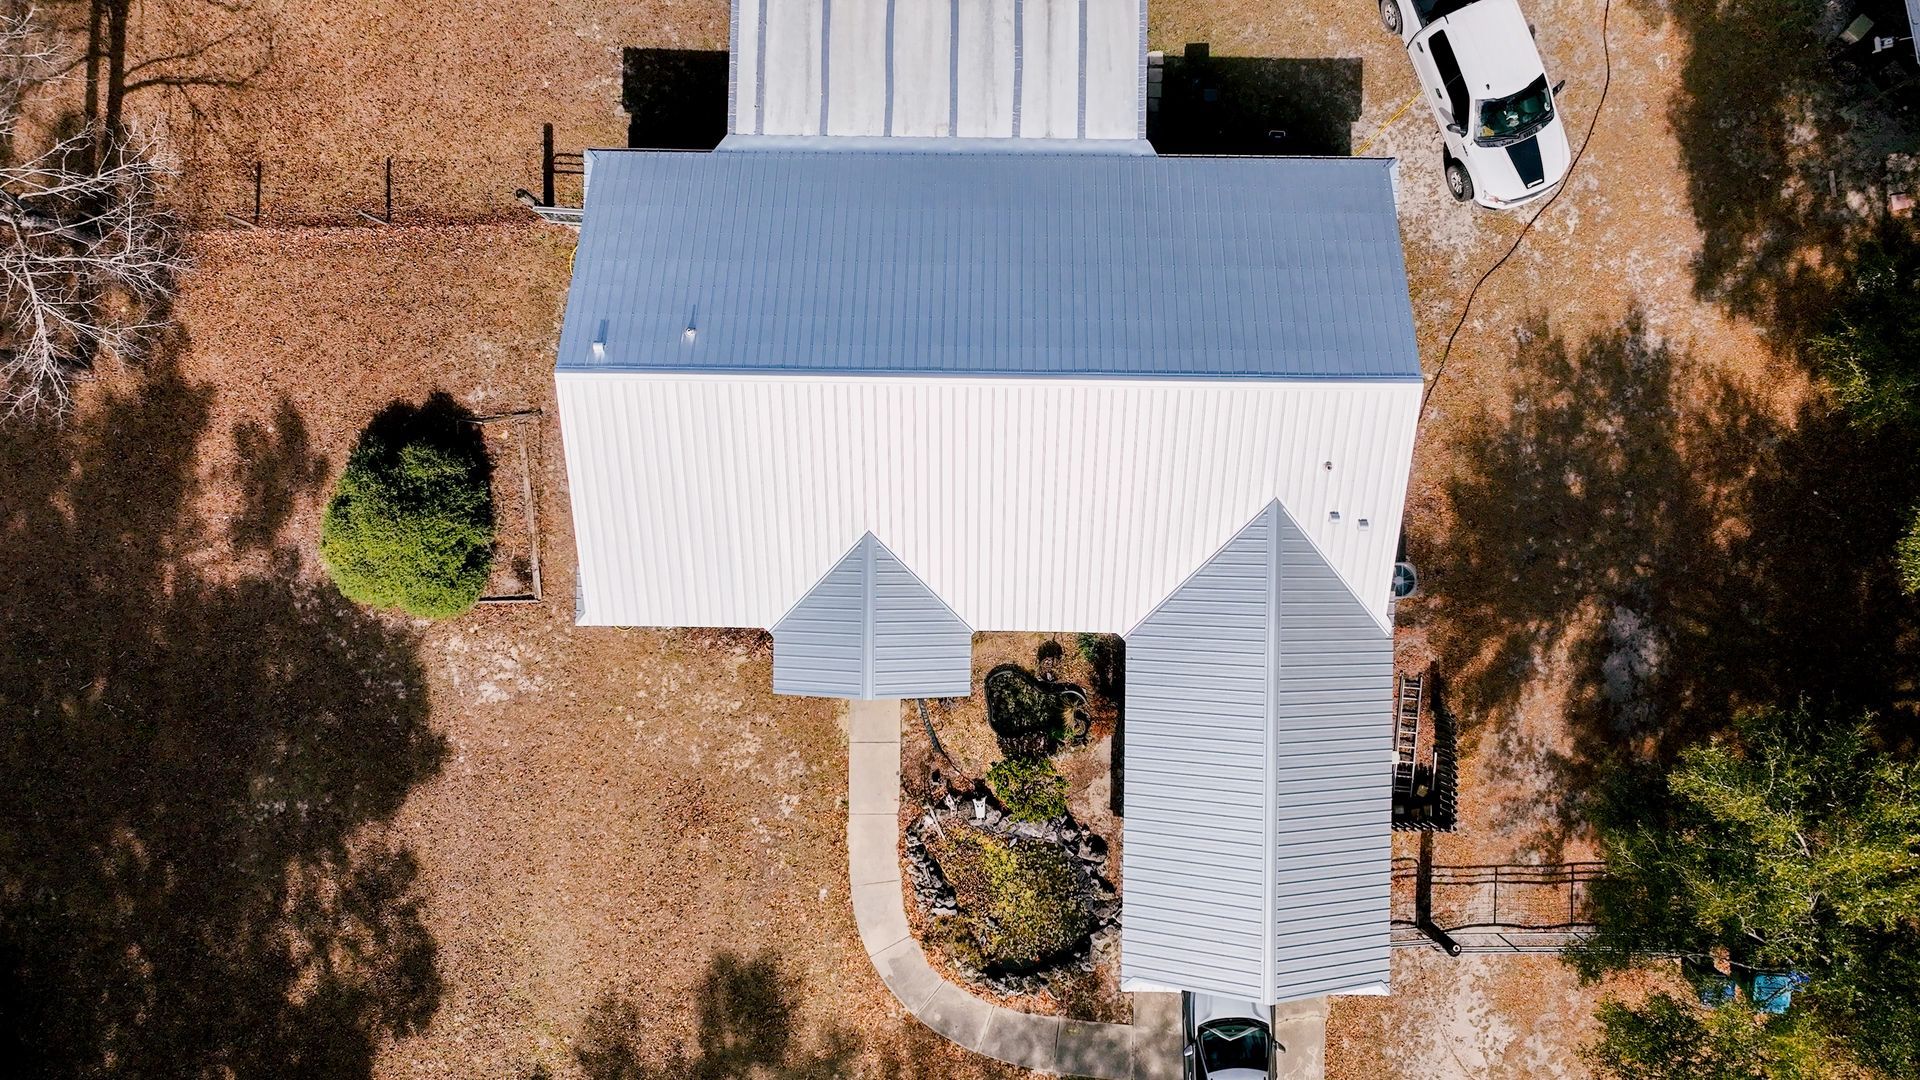
An aerial, top-down drone photograph of a modern residential home in Florida featuring a complex, multi-gabled roof with clean charcoal-grey shingles. The roof is shown in pristine condition, with clear gutters, well-defined valleys, and secure flashing around several vent pipes.
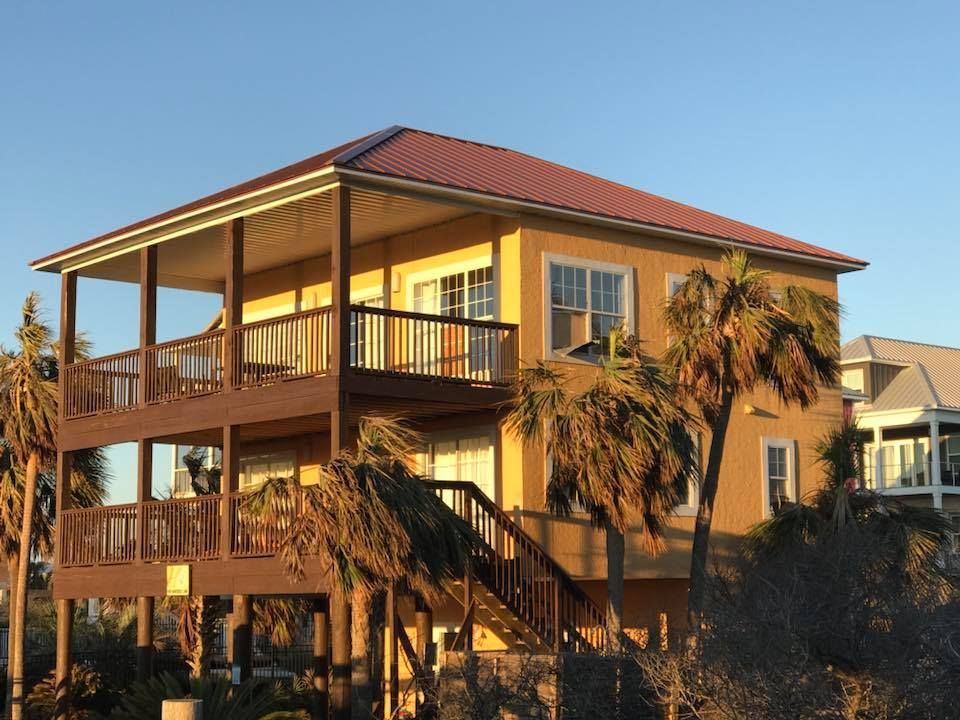
See a detailed image of a yellow stilt beach house under a clear blue sky, featuring multi-level wooden decks and palm trees at golden hour. Perfect for coastal architecture inspiration.
Hiring a roofing contractor? Ask these 10 essential questions before signing anything to avoid costly mistakes and protect your home. Schedule a free estimate today.
Confused about what homeowners' insurance covers for your roof? Learn what’s included, what’s excluded, and how to pass a roofing inspection with confidence. Book a free inspection today.
Learn the roofing trends homeowners can expect in 2026. This guide covers new materials, pricing changes, and updated regulations, plus how to prepare your home and budget. Schedule a roofing inspection now to protect your investment.